For our first child, I may have gone a bit overboard in making sure her nursery was pretty close to perfect. It took me a while to land on a design. I wanted it to be a little feminine, but not too girly. After all, my husband would have to spend time in here as well, and mostly - we just wanted a beautiful, peaceful room.
I hoped to do a wallpaper + wainscoting combination, but looked at about a thousand options before finally being drawn to Serena & Lily’s lovely sunflower pattern. My designer discount came in handy - their wallpaper is very good quality but a little pricey.
I measured all the walls to see how much we needed. We also had to account for how high we wanted the wainscoting to be. Looking at the window frames, which are taller in our 1950’s house, we thought about 40 inches would be great.
When we bought this house, we always intended it to be a nursery one day. It’s right next to our room, and gets the best light in the house. We couldn’t wait to transform it!
This was before. Our back-up guest room, with a bed in the corner.
DESIGN
I worked on the layout and the design of the space, something I do with every project. It’s great to help clarify my vision, colors, as well as placement of items in the room.
You want to have detailed measurements before beginning the design, to make sure the pieces you want actually fit in the space!
One of my favorite parts about the software I use is I can input actual products into the design. It’s great to be able to trade out cribs, chairs, etc to see how different options work. Here’s where I landed.
WALLPAPER
After finishing the design, the first step was wallpaper. We measured carefully (and ordered a bit extra), and my wonderful friend Brooke wallpapered for us while we were out of town. She’s a pro, and it looked great.
I did have a small moment of pregnancy panic, worrying that the pattern was too busy and I’d made a mistake. But - both Brooke and Kevin assured me that once everything was complete, it’d look great.
WAINSCOTING
I love the detail wainscoting adds - it’s such a classic design that never goes out of style. With wainscoting, it’s important to keep the space between the boxes even, not necessarily keeping the boxes even. After all, in a room like ours, every wall was a different length.
We decided on 3 inch spacing - from the top of the wainscoting, bottom of the trim, and corners of the wall - all 3 inches.
From there, it was definitely some math - dividing the length of the wall, minus all the 3in gaps in between, into a fairly equal number to get the width of the boxes.
We marked out the boxes with painter’s tape to be sure we liked the design! And then - my husband and our friend, Matt, went to get supplies.
brad nails
brad nailer
liquid nails
painter’s putty
trim
chair rail moulding
miter saw
painter’s tape
tape measure
level
After taping out each wall (making sure to use a level!), they drew out and measured the pieces they needed - then made a lot of individual 45 degree angled cuts on the saw. Liquid nails was used to stick them on the wall and brad nails were used to secure them. They filled the holes with painter’s putty and sanded them down for painting.
The process took them about a day and a half. But looked so good when they were done! I told them, “the walls don’t look naked anymore!”
PAINTING
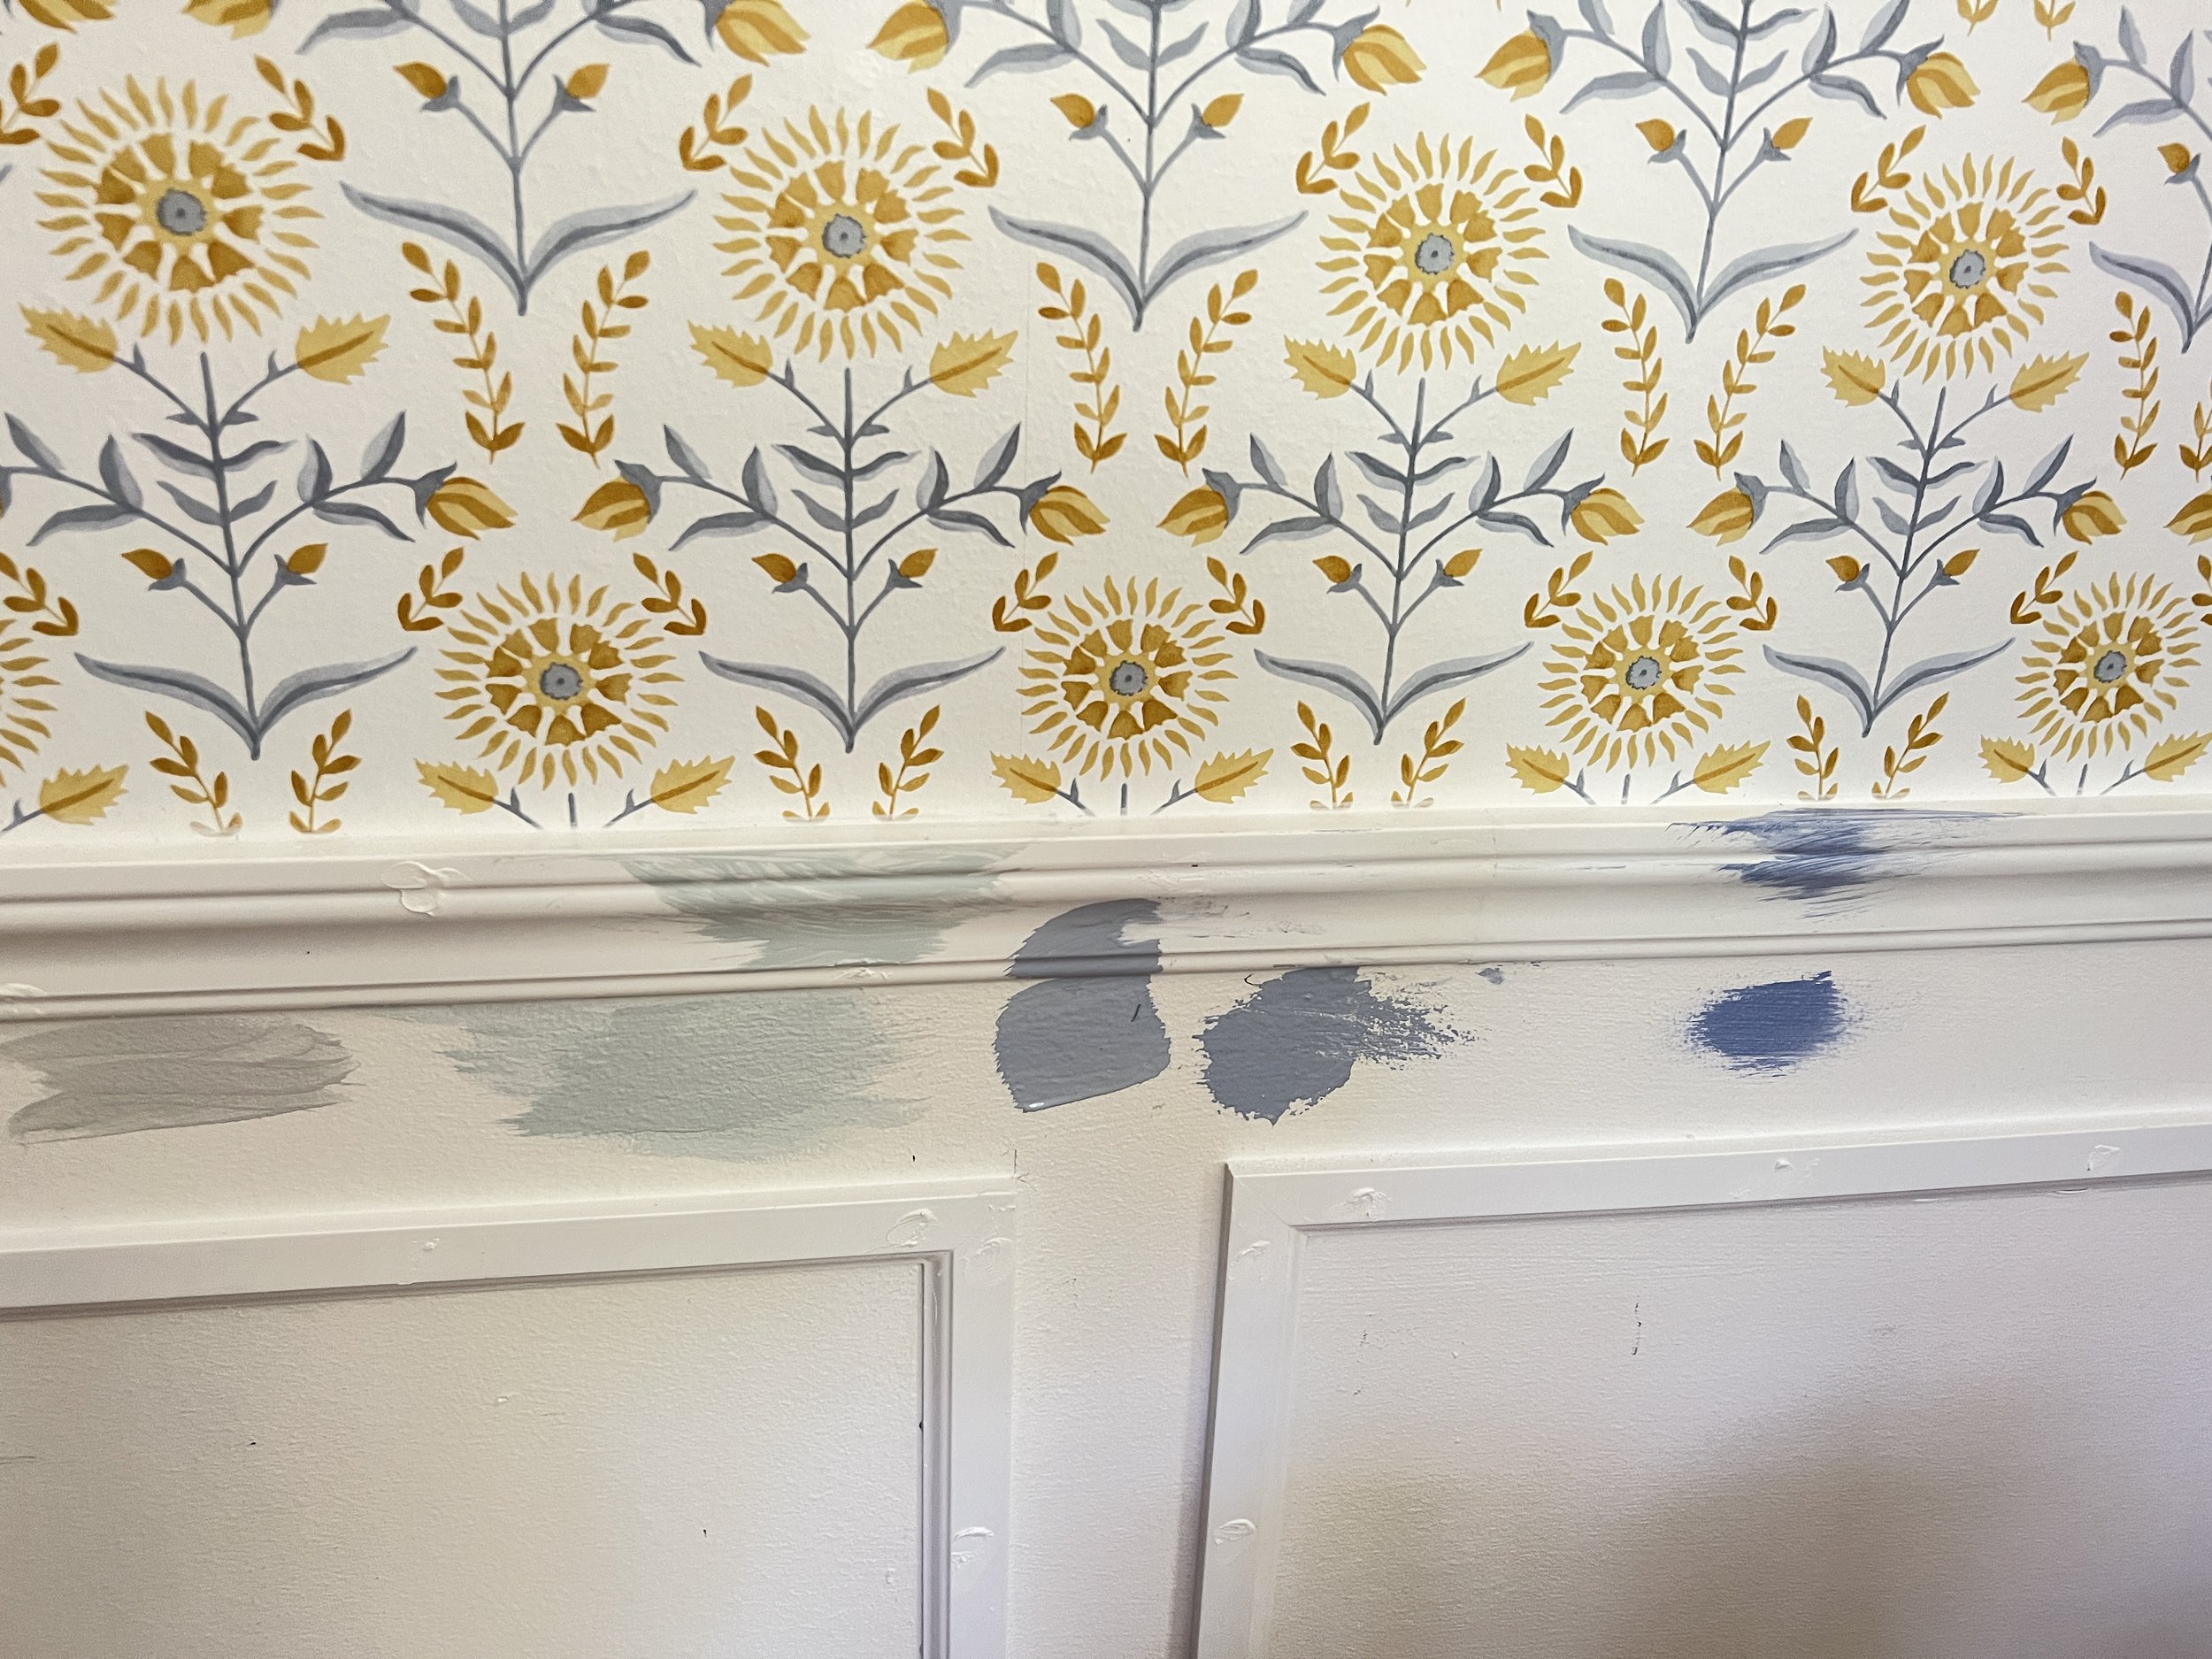
I knew I wanted a nice pastel blue - so I ordered a color from Backdrop - and it was way too light. I didn’t want to waste what I had already bought - so I decided to head to Benjamin Moore and find a color to mix it with.
We landed on a medium blue tone with some violet in it.
When mixed, it was such a beautiful periwinkle color - we loved it! And periwinkle was my favorite color from ages 8-13, so it also felt like a throwback.
2nd from left was original Backdrop color - far left was the Benjamin Moore paint we got to mix with it, and the middle color is where we landed!
My friend Brooke once again did the painting, she’s so good! And we decided that the black window frames and black closet doors didn’t quite fit the vision, so we got a white semi-gloss paint for those.
DECORATING
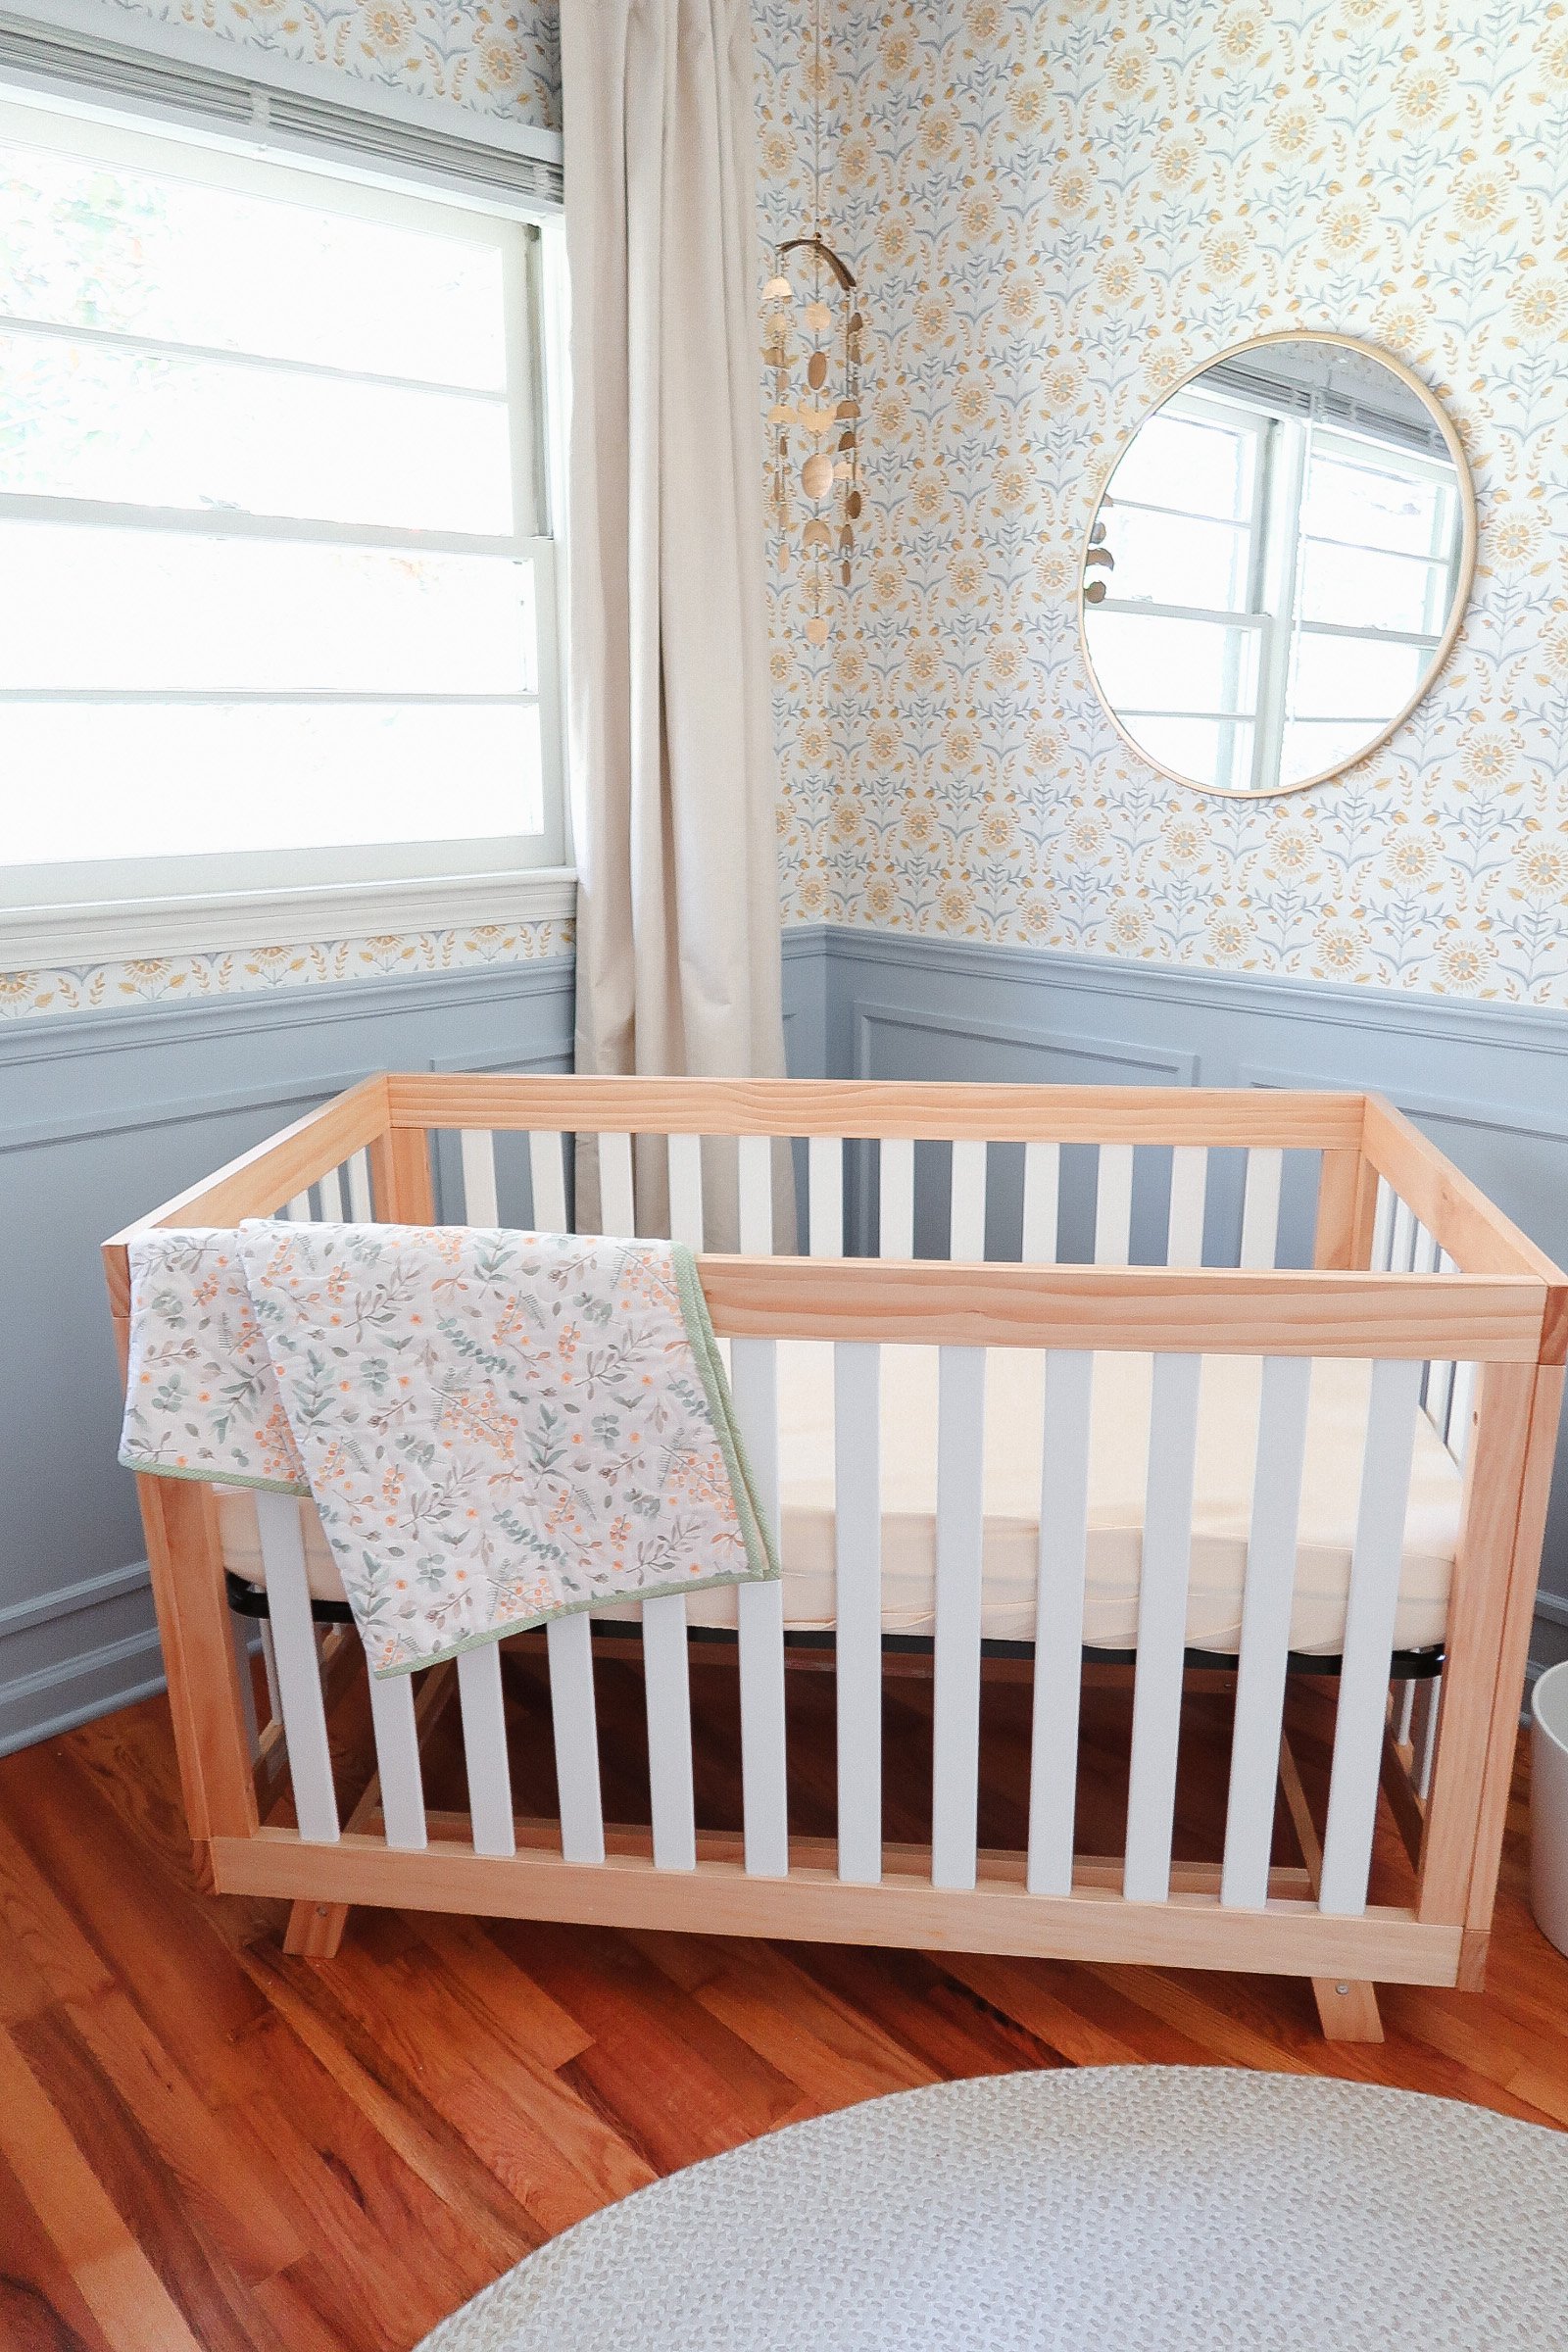
My favorite part. We knew a lot of the products we hoped to use already since I incorporated them into the design. We were very lucky to be gifted a lot of what we needed, since I also added them to our baby registry!
I opted for a less expensive crib - things were adding up and visually, the one we went with looked very similar to the high-priced crib I originally thought we might be able to afford.
We also got a really affordable glider. It glides, reclines, and swivels, and was under $300!
The curtain rods were a bit tricky - I needed the same curtain rod in two different lengths - as we have double windows on one side and a single window on the other side. Eventually - I found a curtain rod at Target that fit the bill.
We’re in love with this space - and couldn’t have gotten to this point without our wonderful family and friends!


