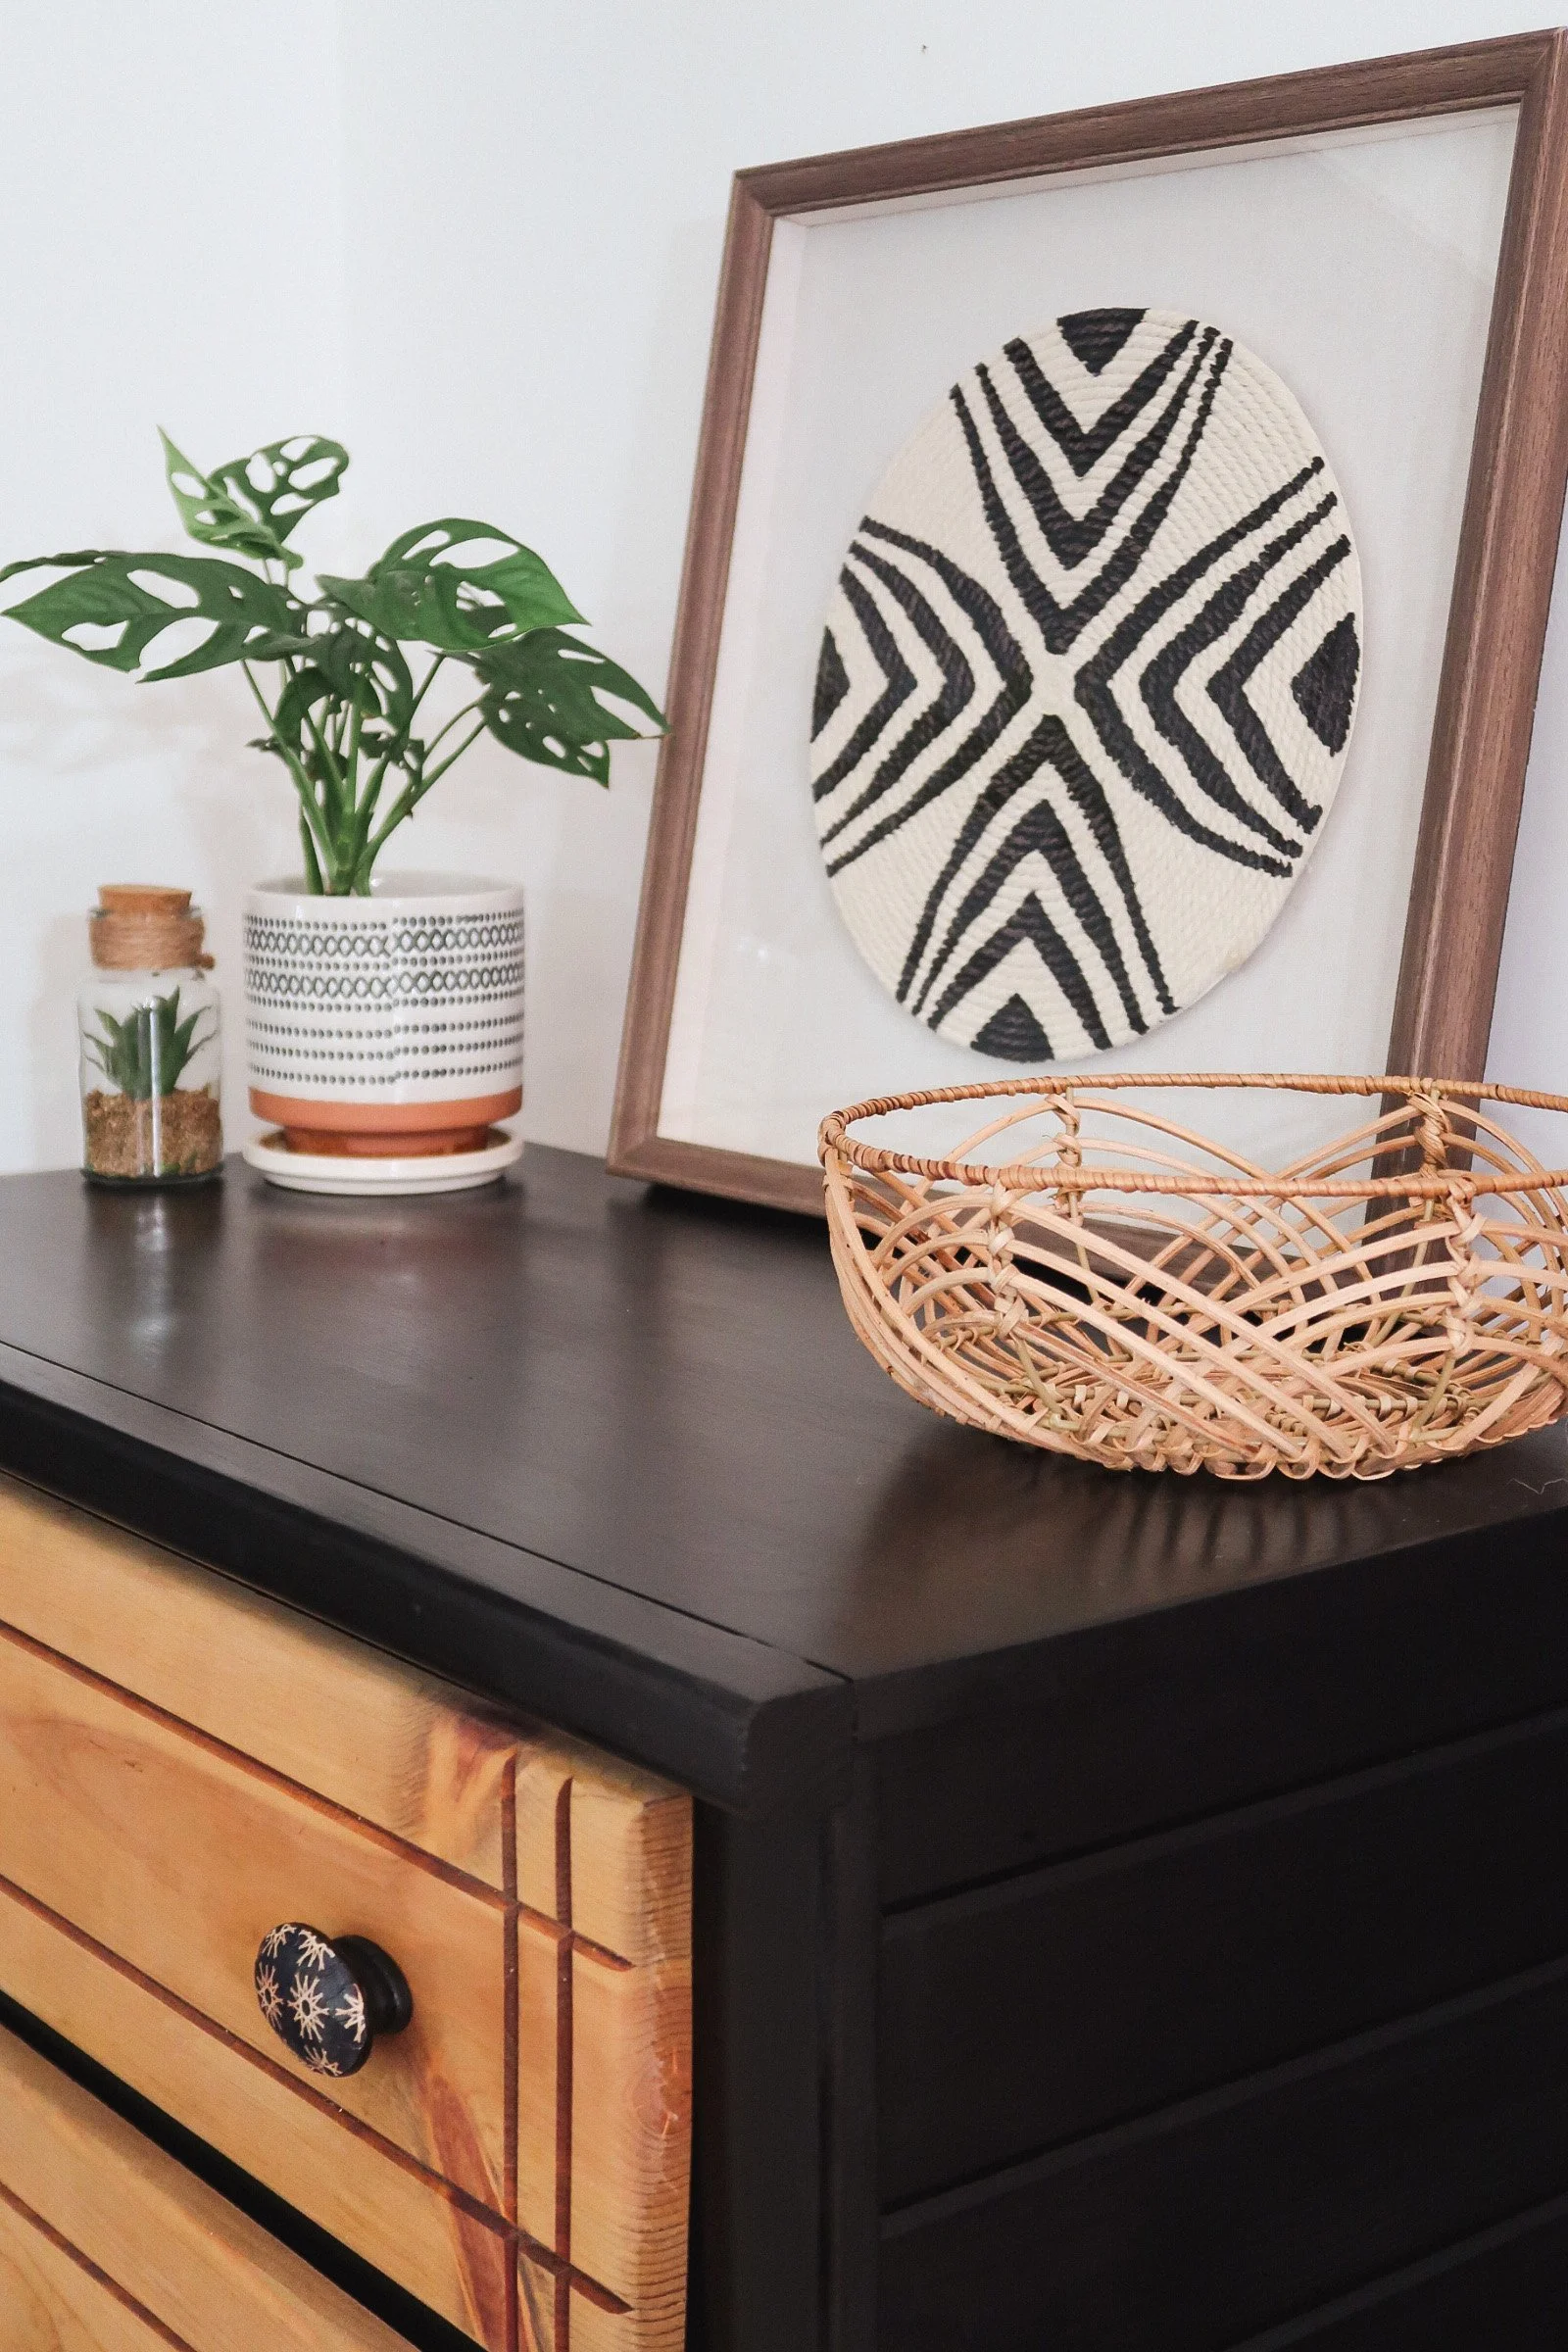
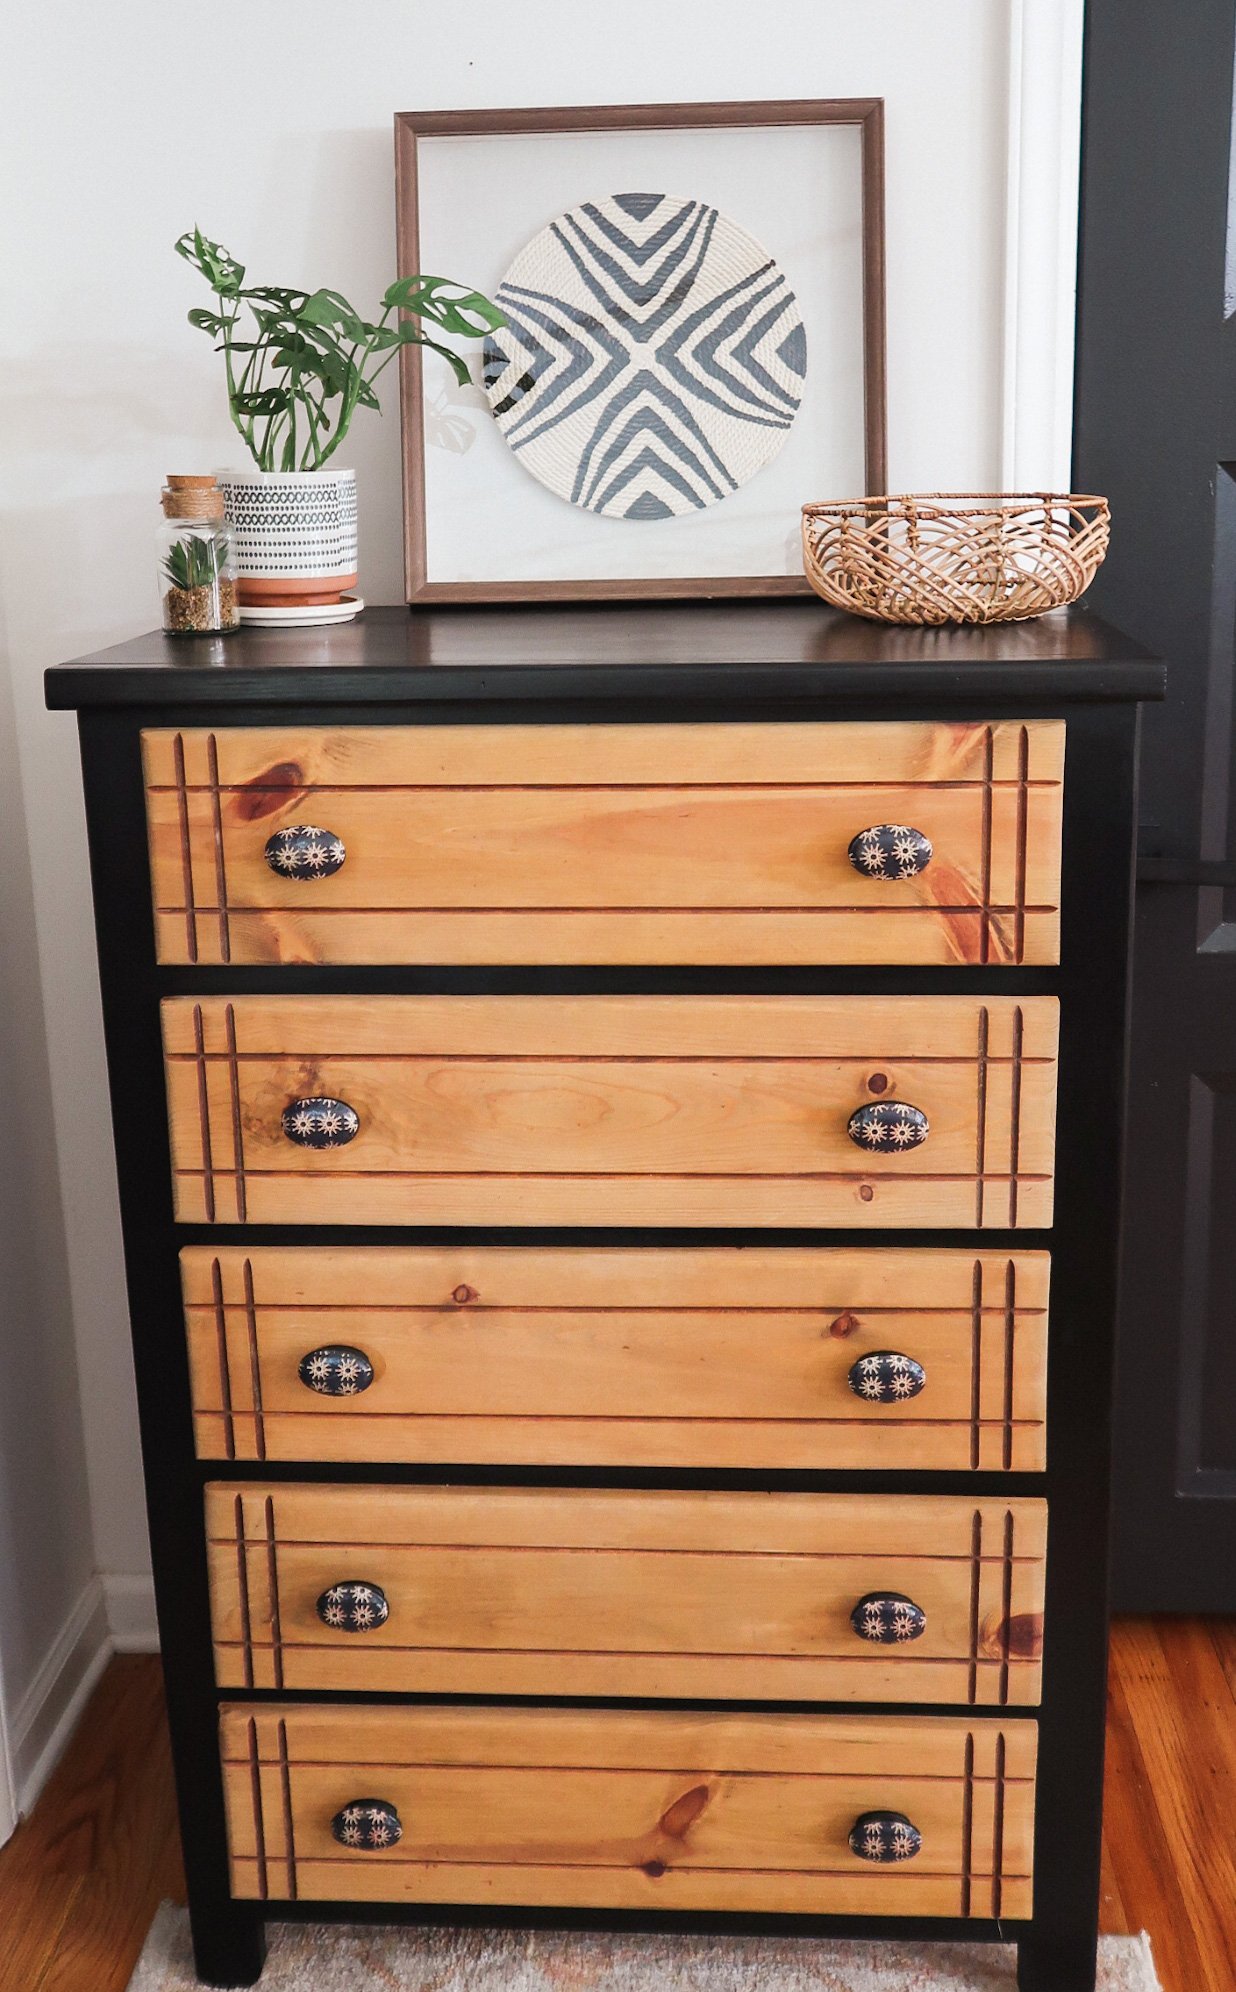
Take a dresser from drab to fab for under $50!
When I get a bottle of wine, I like the good stuff. But that doesn’t mean I wanna PAY for the good stuff. So I look for deals (and go to Trader Joe’s a lot).
When it comes to furniture, I ALSO want the good stuff. The well-made, unique pieces. But not the price tag. Quality pieces can really run up your bar tab! I mean, credit card.
Some comparable 4-5 drawer dressers that would make a dent in your wallet.
And as for the cheap stuff? Composite ‘wood’ is so 2010 Ikea. The beauty of actual wood is it can grow and change with you, you just have to take care of it and give it a little TLC now and then. :) And then you can paint, strip, stain, and paint again!
This was a New-To-Me dresser from Facebook Marketplace. I’ll show you step by step how we took her from drab to fab.
Before. Image from the FB marketplace listing.
MATERIALS NEEDED:
electric sander
sandpaper (we used 220 grit)
oil-based stain of your choice (we used Golden Oak)
furniture paint (used Shabby Chic “Black Liquorice” chalk paint in a Matte finish)
furniture sealer (I used Shabby Chic Jolie Finishing Wax)
inkjet printer + printer paper
Mod Podge
lint free cloth + rag
large paintbrush
craft paintbrush
This water stain was much peskier than we thought! But - we adapted and decided to paint, which we ultimately love.
STEPS:
Remove drawers.
Unscrew knobs with a screwdriver or screw gun.
Sand piece with orbital sander. Go slow and steady. (This is for stained wood, wood that has paint will need different prep!)
Once it’s sanded to expose raw wood, vacuum/wipe down dresser to get rid of dust. We realized at this point that no amount of sanding was going to help with a water stain on top, so instead of staining it all, we decided to paint.
Follow stain instructions. We brushed on stain with a paintbrush and then wiped in the direction of the grain with a rag after leaving on for a few minutes. We used Miniwax’s “Golden Oak.”
White wash, if you want! I hoped for a little bit of a paler color than the Golden Oak stain gave us, so after staining, I mixed a little bit of white paint in water. Start with a little and add until you get your desired level of color.
Paint your wood. I used Shabby Chic in ‘Liquorice,’ a black color that still has some blues/grays in it. Less is more.
Touch up paint. Since there were so many grooves on the sides, I did this step a few times, and used a small craft paint brush. I also had to do about 4 coats on top of the water stain! Let paint cure for the recommended time.
Seal. I used a clear finishing wax and followed instructions. Used a brush to apply the wax, and wiped off excess wax with a cloth. This takes 2 weeks to cure. For faster cure times, use a clear topcoat.
Find the design you want for knobs. I wanted something with gold accents, and ended up using a Canva design with a dark charcoal background.
Print your design. I printed the design on two full pages of printer paper, which left me plenty of real estate for 10 knobs.
Paint knobs if needed. I ended up painting the knob sides the same color as the sides so they would all blend together. I also wanted a more ‘seamless’ look between where the paper ends at the front of the knobs to make a more cohesive look.
Cut out design. For this part, I held up the knobs on top of the paper I was cutting, and eyeball added about 1/4 of an inch around the sides. You can also trace the knobs and leave 1/4 inch gap when you’re cutting.
Apply the Mod Podge in a medium layer on the front of the knob.
Place cut-out design centered on the front of knob to your liking.
Apply another layer of Mod Podge over top and on the sides, smoothing down as you go. You’ll most likely have a few creases, which just adds to the textured look! You can use your fingers to press the sides down as well. Let dry.
Re-attach knobs. And you’re done!
Stained cabinet on the left. White-washed cabinet on the right for a more “natural” wood look. Another alternative is simply seal the drawers with a clear polyurethane topcoat after they were sanded down. May try that next time!
Freshly painted and still drying. The coverage on this paint was pretty good, I used a medium jar (8.5oz) for this whole project.
Knobs in various stages. The Modge Podge goes on white but dries clear!
TIME REQUIRED + BUMPS:
Overall, this project took us a few days due to dry/curing time, but probably only about 8 hours of work.
There were some hiccups with the water stain, and I originally also wanted to change the kobs completely, as these were wider knobs with two screw attachments about an inch apart. I was hoping for sleeker, single screw knobs.
I tried filling in the holes with wood filler, and then sanding and staining them. BUT, alas… you could still very clearly see the wood filler. So. I pivoted to working with the existing knobs, and the result is still something unique, which was my goal!
Wood filler would’ve worked fine if we had decided to paint the whole piece, and we could’ve easily changed the knobs at that point. Next time!
Overall, we’re happy with how the piece turned out. It also gave us confidence that we have the ability to transform pieces that we like into pieces we love.
Youtube link below!
My instagram reel of this dresser do-over project is dresser do-over project is here.


