This was a fun one! Although a lot of the fixtures were selected ahead of time, I ended up doing a good amount of the grunt work and making adjustments when we had issues arise.
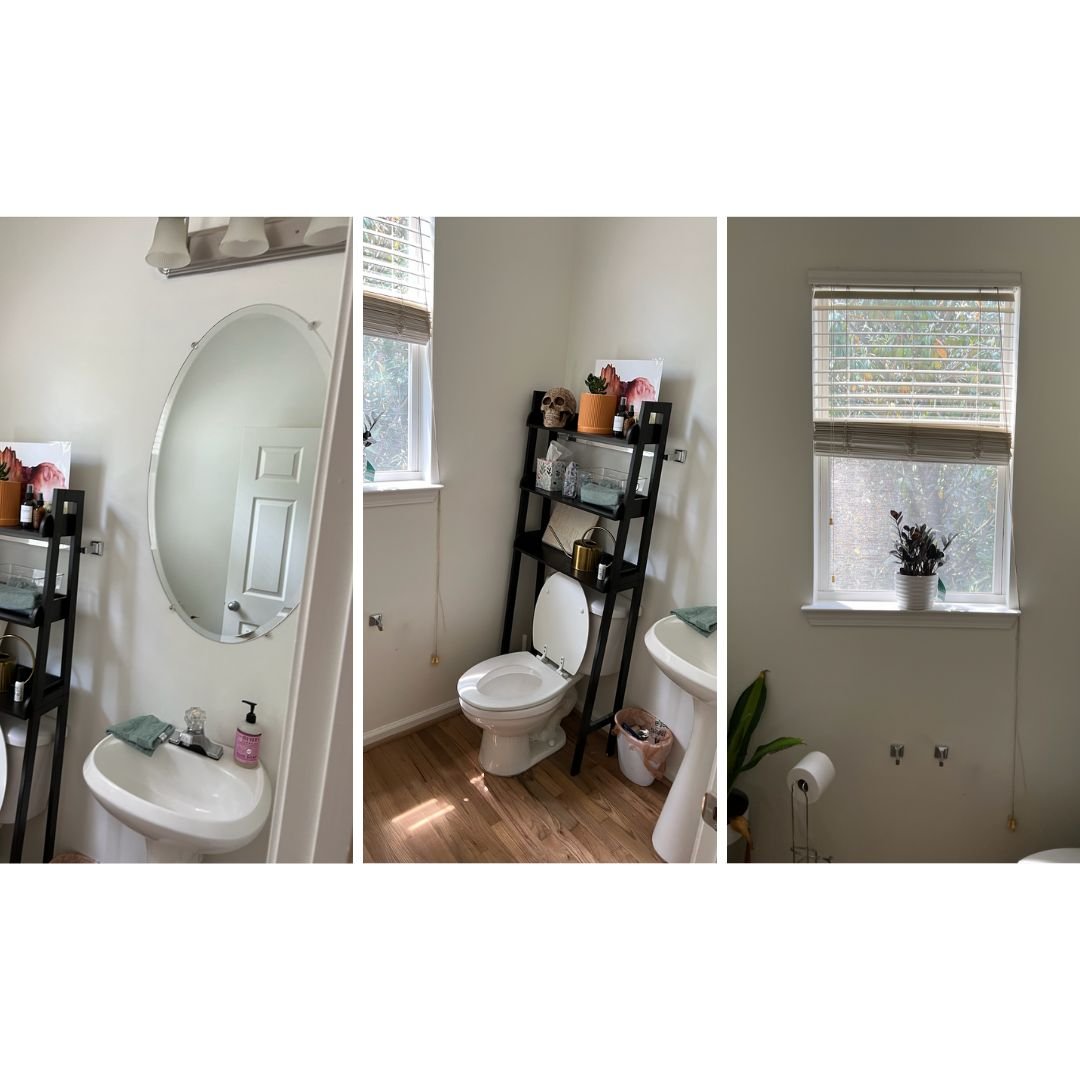
BEFORE. Builder grade mirror + light fixture + vanity.
This bathroom needed some love. Basic, is what we call her. She had a boring vanity, outdated light fixture, and a completely non-functional toilet paper holder.
My clients wanted a fun, statement bathroom, and they’re huge plant lovers. So we got to work.

1.) Remove hardware/light fixtures.
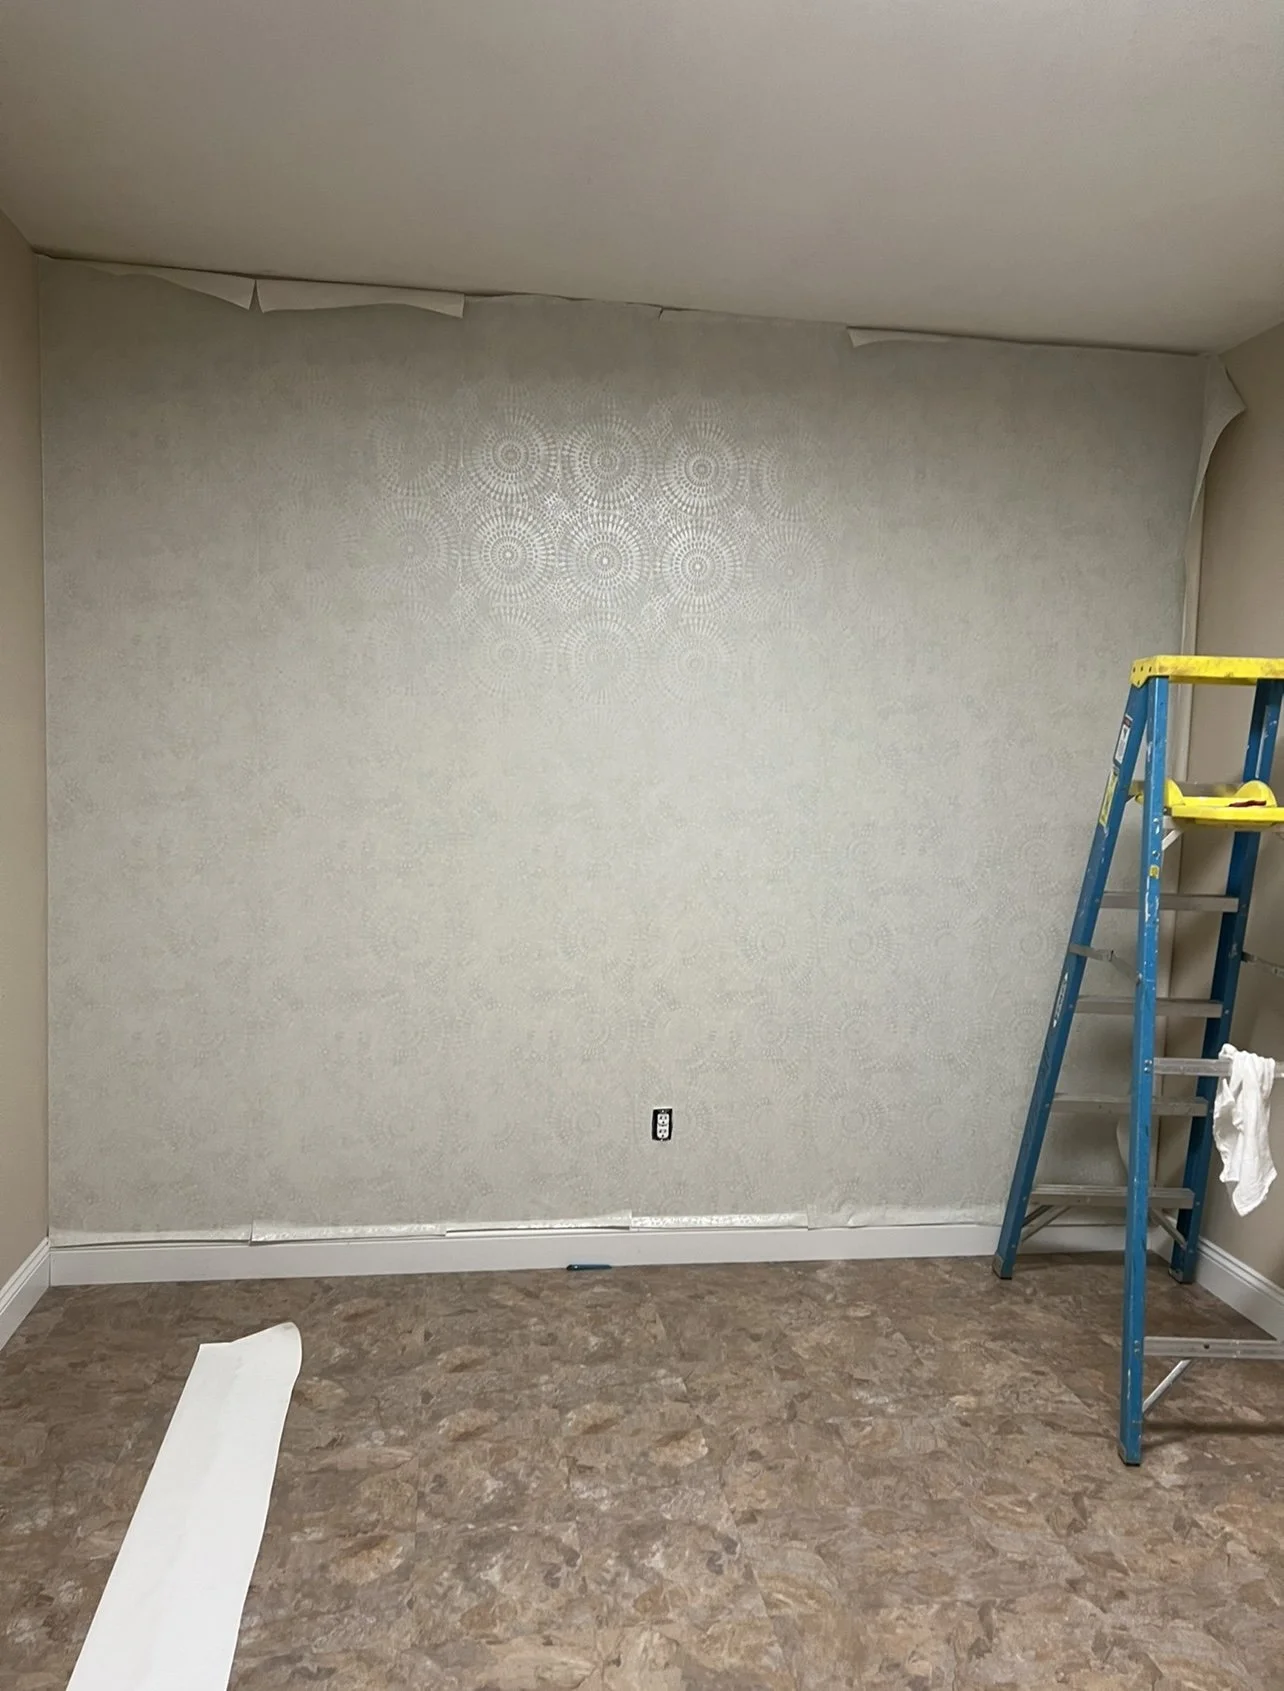
2.) Sand down or fill any areas that will show through wallpaper. You can use 220 grit sandpaper and wood filler.
3.) Install wallpaper. Follow wallpaper instructions! I personally DON’T like working with peel and stick - it’s hard to move around. I like the paste. You cut your piece (or some come pre-cut, like this one), paint on the paste with a brush pretty heavily. Fold the ends in to the center to ‘book it.’ Leave for 5 minutes. Place on wall, and smooth down with smoothing tool, paying extra attention to the edges. I like to wait til it’s all dry, and then I come in with my razor and smoothing tool to cut a clean line on the ceiling.
4.) Trim + Molding + Beadboard. I hired a handyman for this. We figured out how high we wanted the top of the beadboard and trim to go, then subtracted the inches the beadboard sheets come in (typically 48 inches), and were able to figure out the rest of the real estate we had left from there. He used a saw to cut panels and the trim, and attached with a nail gun.
5.) Caulk + putty + sand. He filled in the nail holes with some caulk, or wood filler would work as well. He caulked around the top of the trim and the wall to make it a clean seal. Once dry, we sanded down the wood to make a flat surface for painting.
6.) Tape off the wallpaper + floor with painter’s tape. I’m a bit of a messy painter so this is any important step for me to keep clean lines!
6.) Prime the raw wood trim + beadboard. This is a step that my painter friend won’t let me skip! It truly does make a difference when you prime.
7.) Sand any other areas. Just double check by running your hand along the surfaces to make sure everything is nice and smooth.
8.) Paint the trim and beadboard. We used a white trim paint that already was used in the house for door frames. It has a gloss to it so keeps a cohesive look and also easier to clean. I did two coats, waiting til it was dry in between.
9.) Re-install toilet, new vanity, light fixture, roman shade, and mirror. Handyman did this!
10.) Attach new toilet paper holder, towel holder, and floating shelves. A great way to test out the position of toilet paper holders, towel hooks, etc, is to use painter’s tape in the proposed spot. Test it out, see how it feels and if there’s enough room/is functional. Better to change your mind when it’s tape VS screws in the wall!!
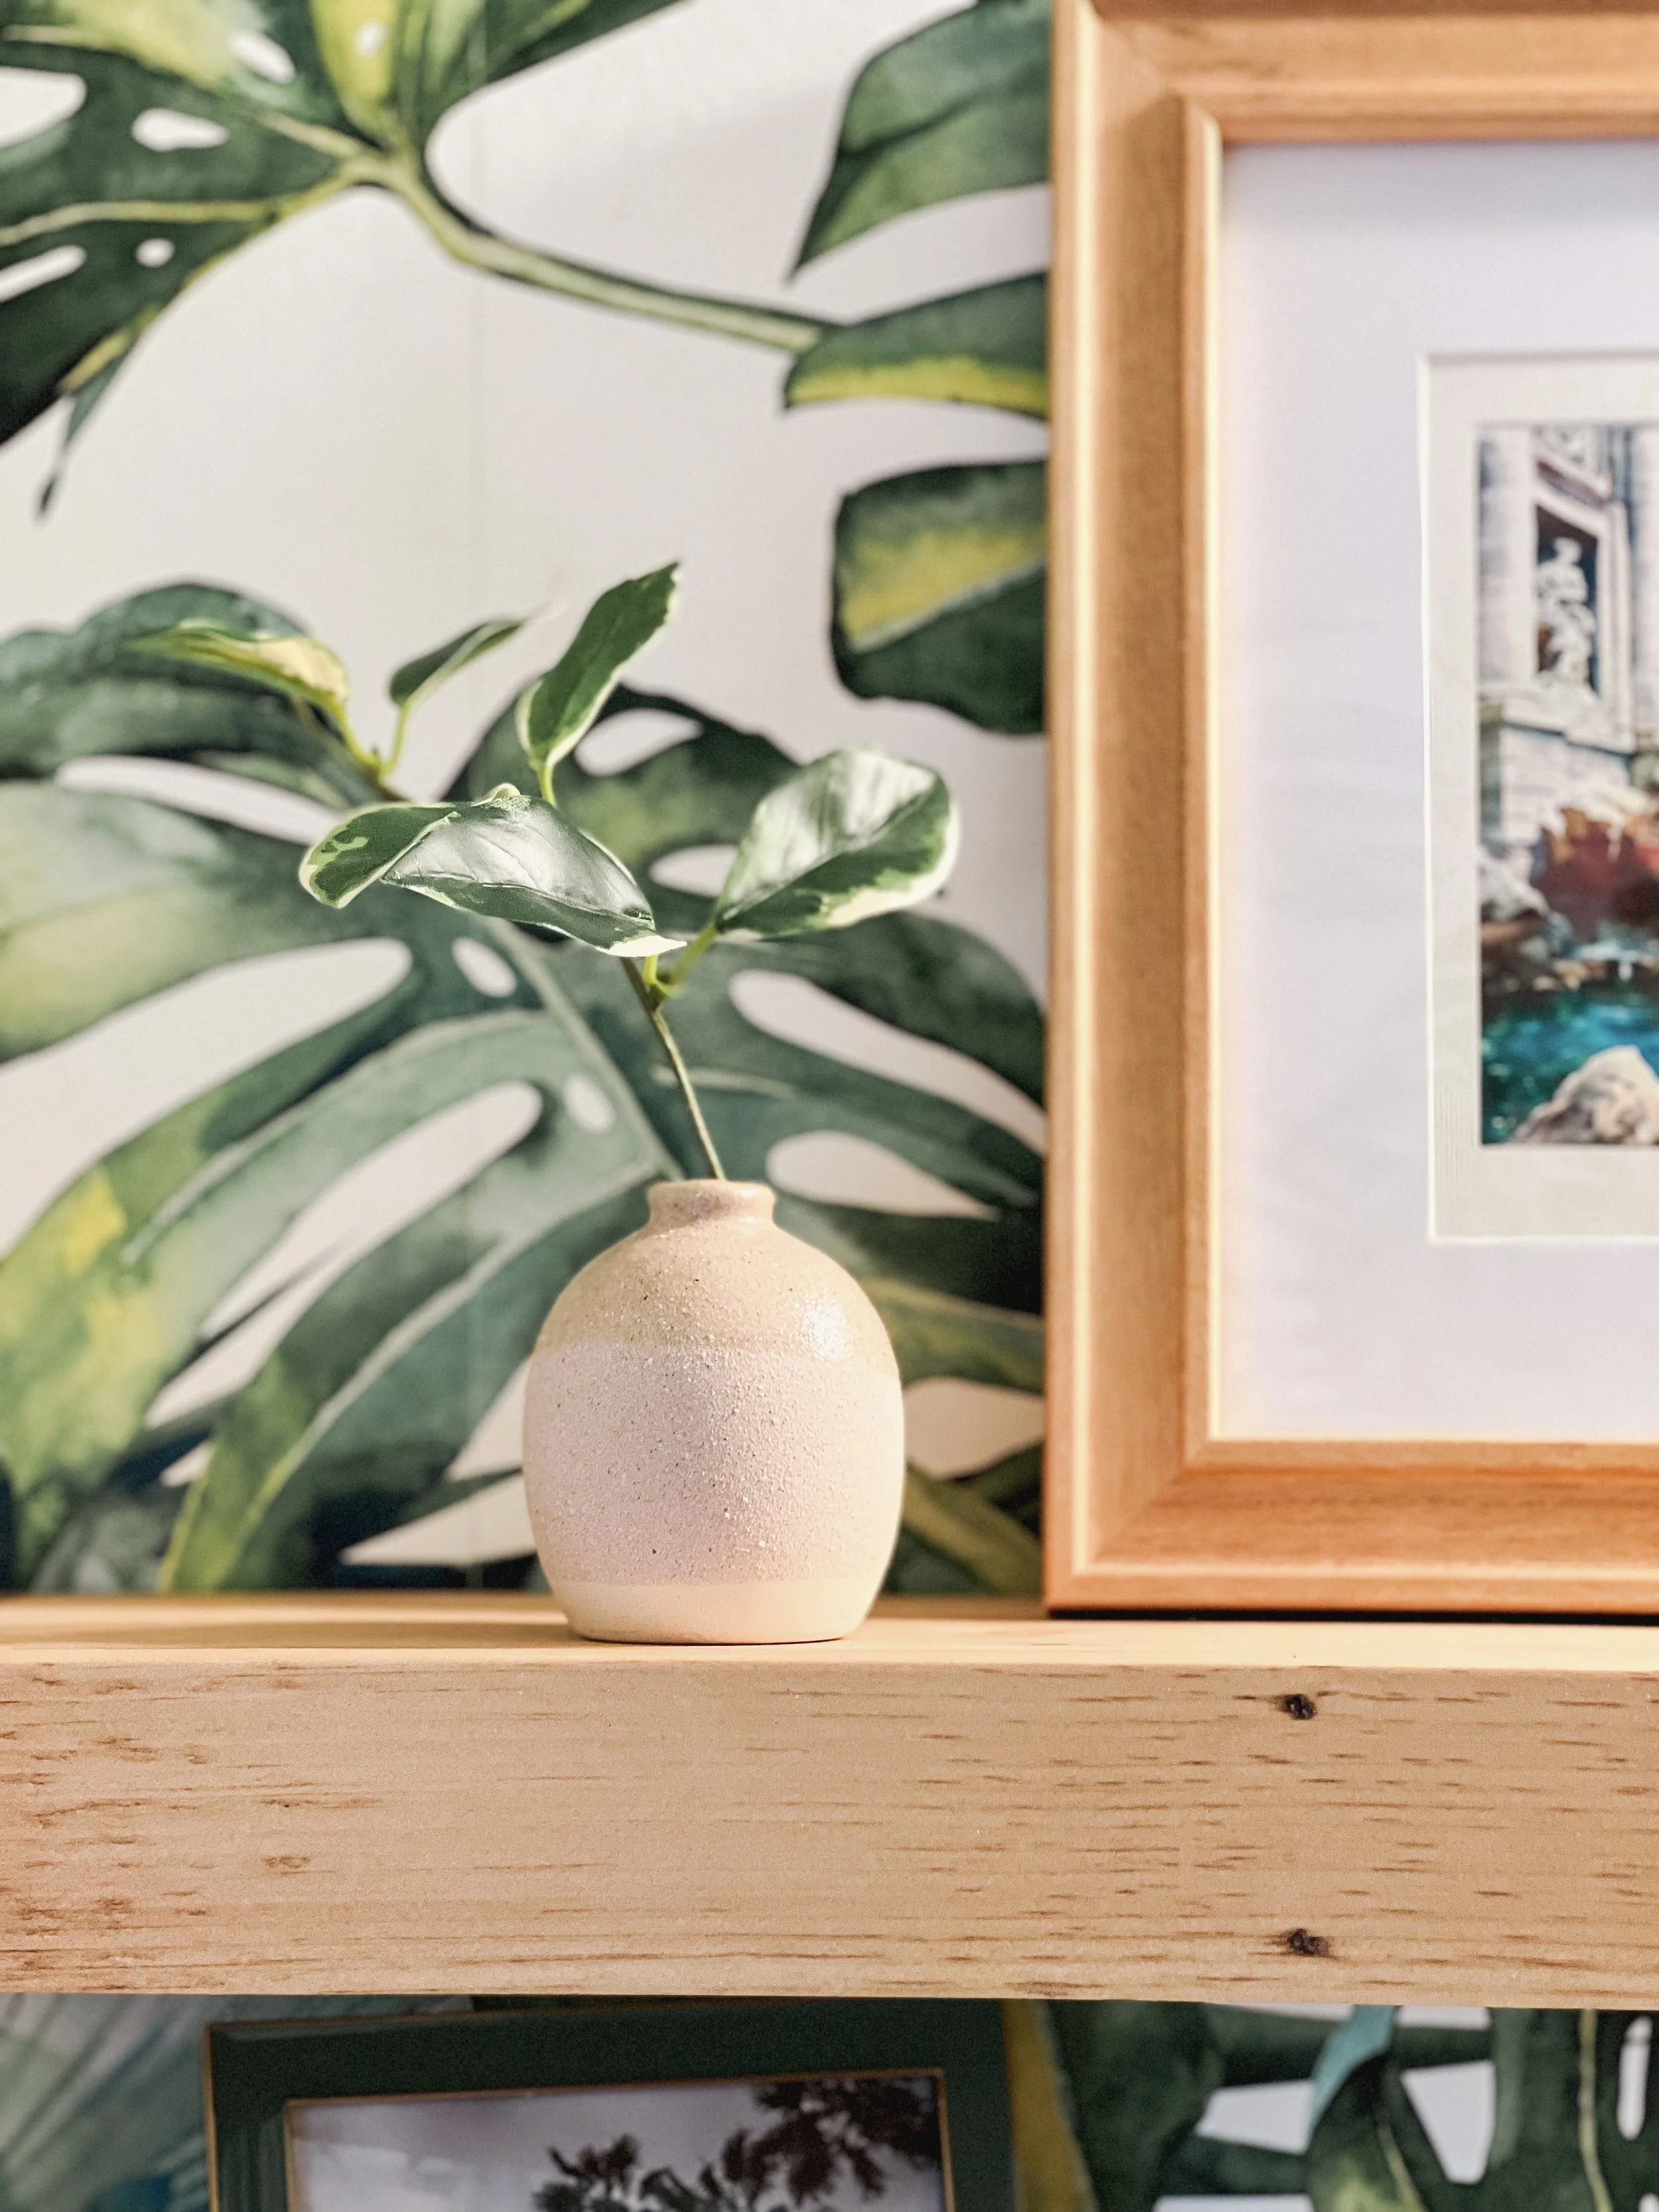
11.) Style the shelves, sweep up your mess, and enjoy!


SHOPPING LIST:

Wallpaper
They create the perfect size for your wall.

Floating Shelves
Custom floating shelves in various wood tones.

Blue Vanity w/ marble top
Affordable and very cute!
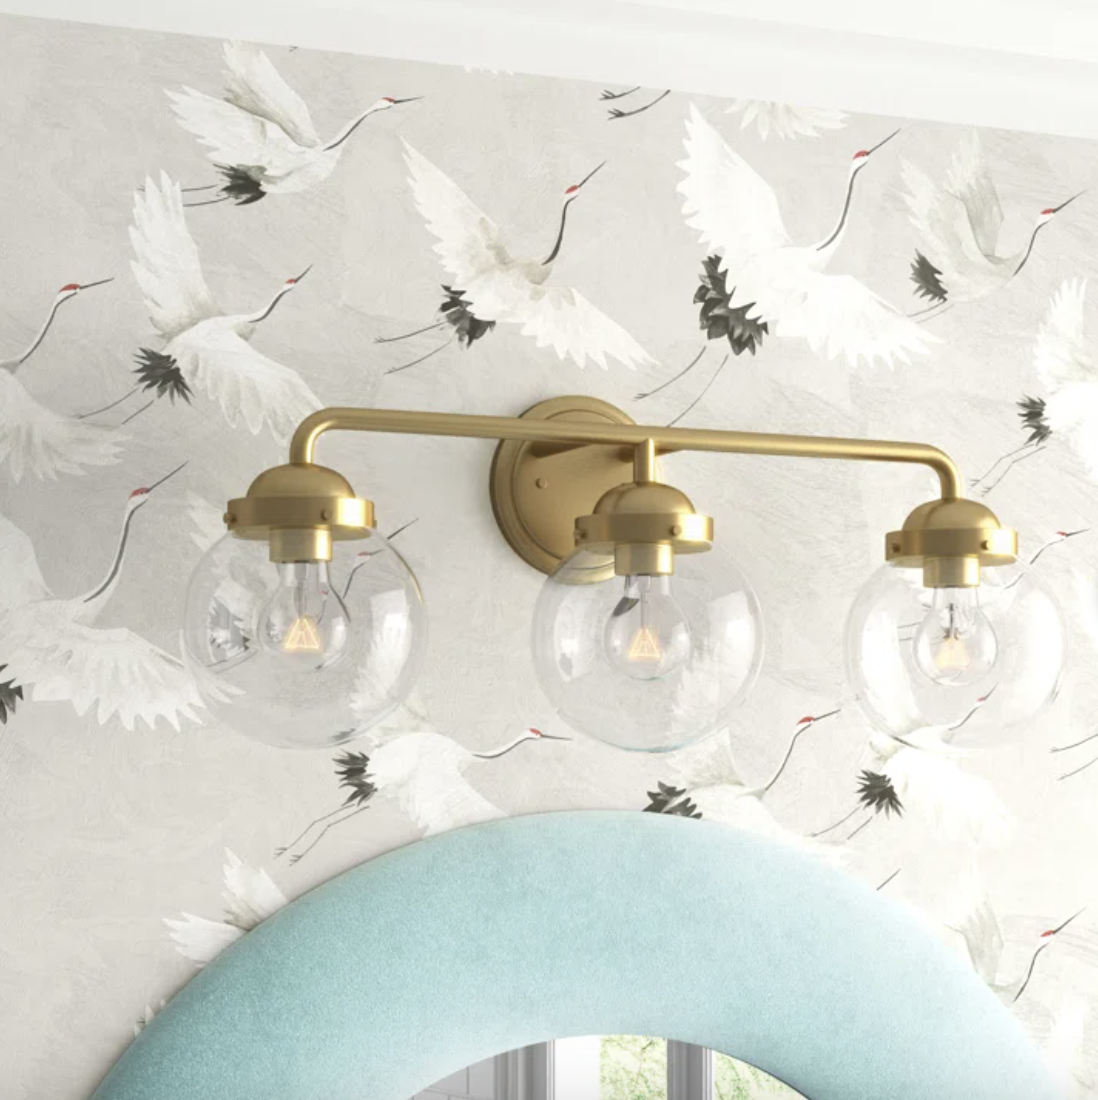
Vanity Light
This is under $100!
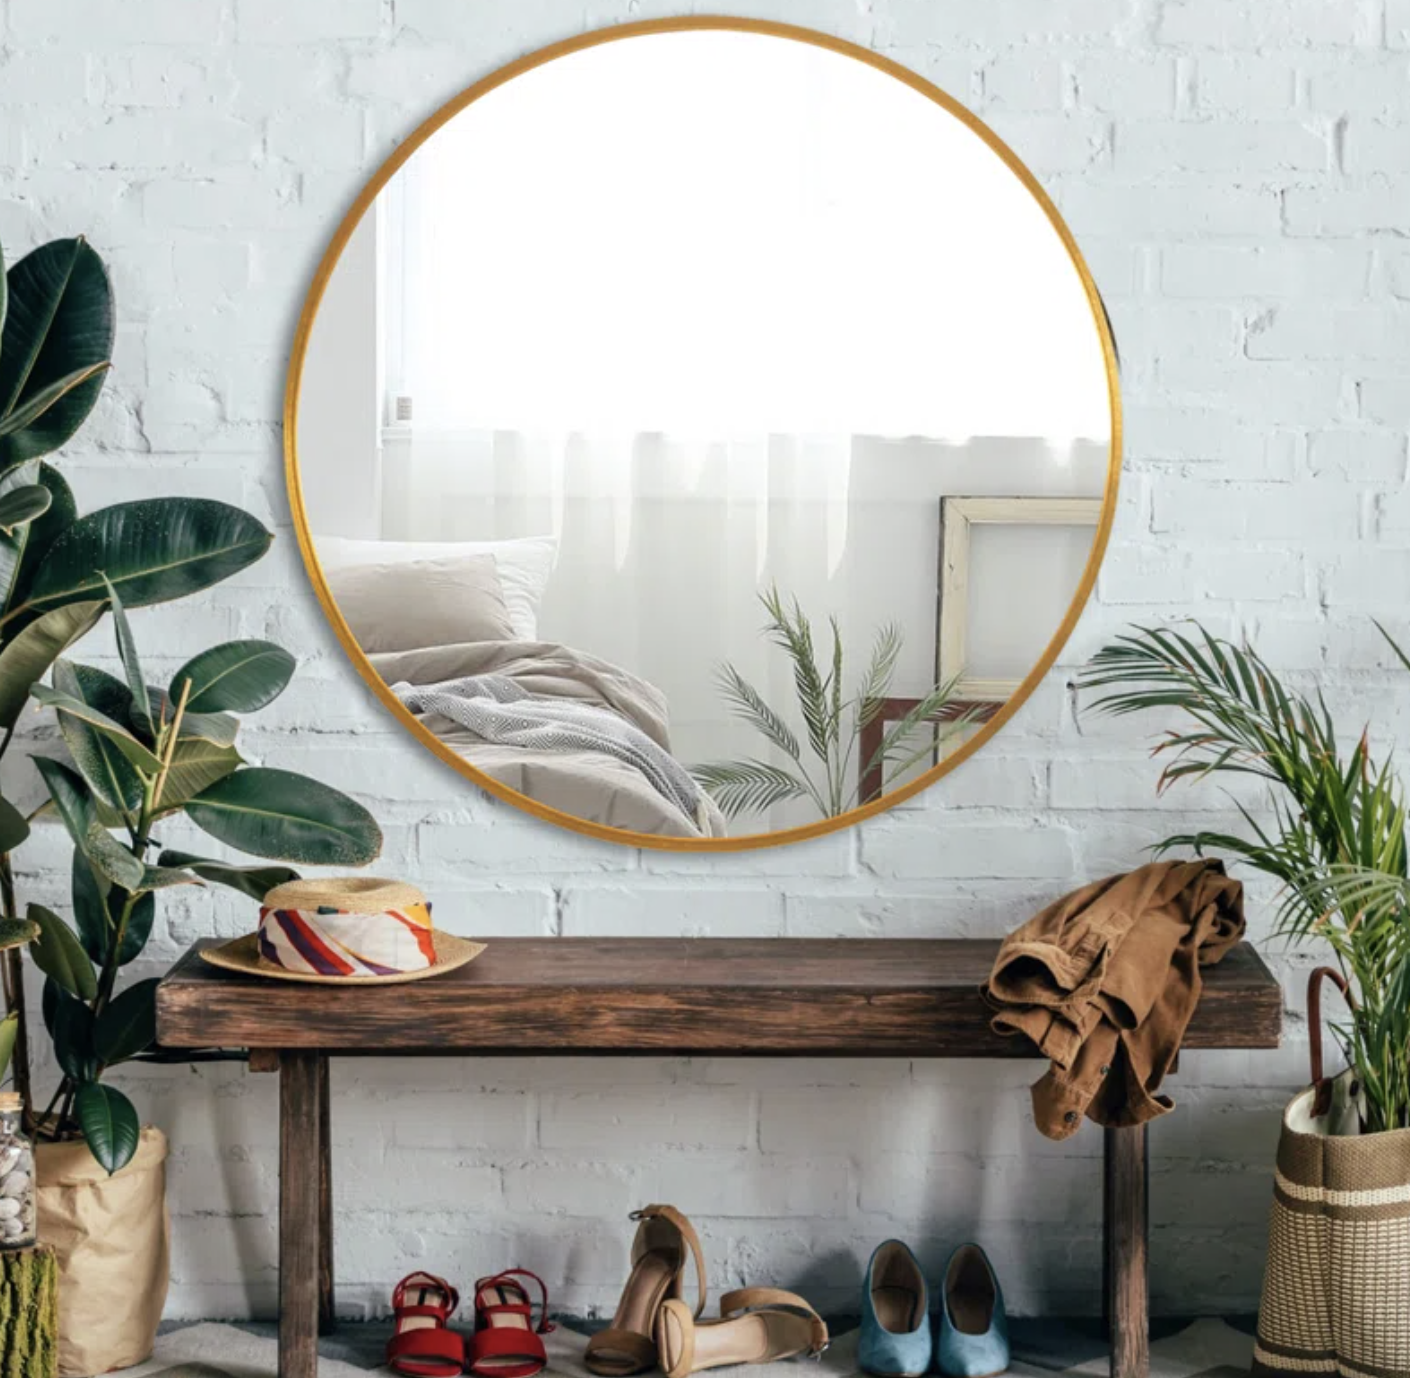
Round Mirror
Great price for the mirror - comes in various sizes and gold or black.

Brushed Gold Faucet
Comes in matte black or gold. Currently on sale for $100!

Gold Open Hand Towel Bar
Super elegant.

Gold Toilet Paper Holder
A classy, modern design.

Roman Shade
Comes in a variety of colors.

Beadboard
A very easy way to add details to your walls.